Old Time Photos: A Guide to Vintage Photo Styles
Pixilated Photo BoothOld time photos are photographs made roughly between the 1840s and the mid-twentieth century, and they fall into a few recognizable styles: polished metal daguerreotypes, glass-based ambrotypes, metal tintypes, paper cabinet cards, sepia studio portraits, and early color snapshots. Knowing the differences helps you date family pictures, care for them properly, and recreate the same timeless look at your wedding reception.
This guide moves from the basics of each style to practical steps for preserving originals and borrowing the aesthetic for your own celebration.
What Counts as an Old Time Photo?
An old time photo is generally any photograph made with early processes, from the first metal-plate images of the 1840s through the black-and-white and early color prints of the mid-1900s. There is no official cutoff, but collectors often group them by the technology behind the image.
The earliest photographs were one-of-a-kind objects. Later processes introduced negatives, which meant a single sitting could produce many copies. That shift changed who could afford a portrait, and it is the reason so many families have a shoebox of prints from the early 1900s but nothing from the 1850s.
Style, clothing, mounting, and the physical material of the image are the main clues to its age. A thick card mount points to a different decade than a thin glossy print with a white border.
The Major Vintage Photo Styles, Explained
Each early photographic process left a distinct visual signature, and recognizing it is the fastest way to place a picture in time.
Daguerreotypes (1840s to 1850s)
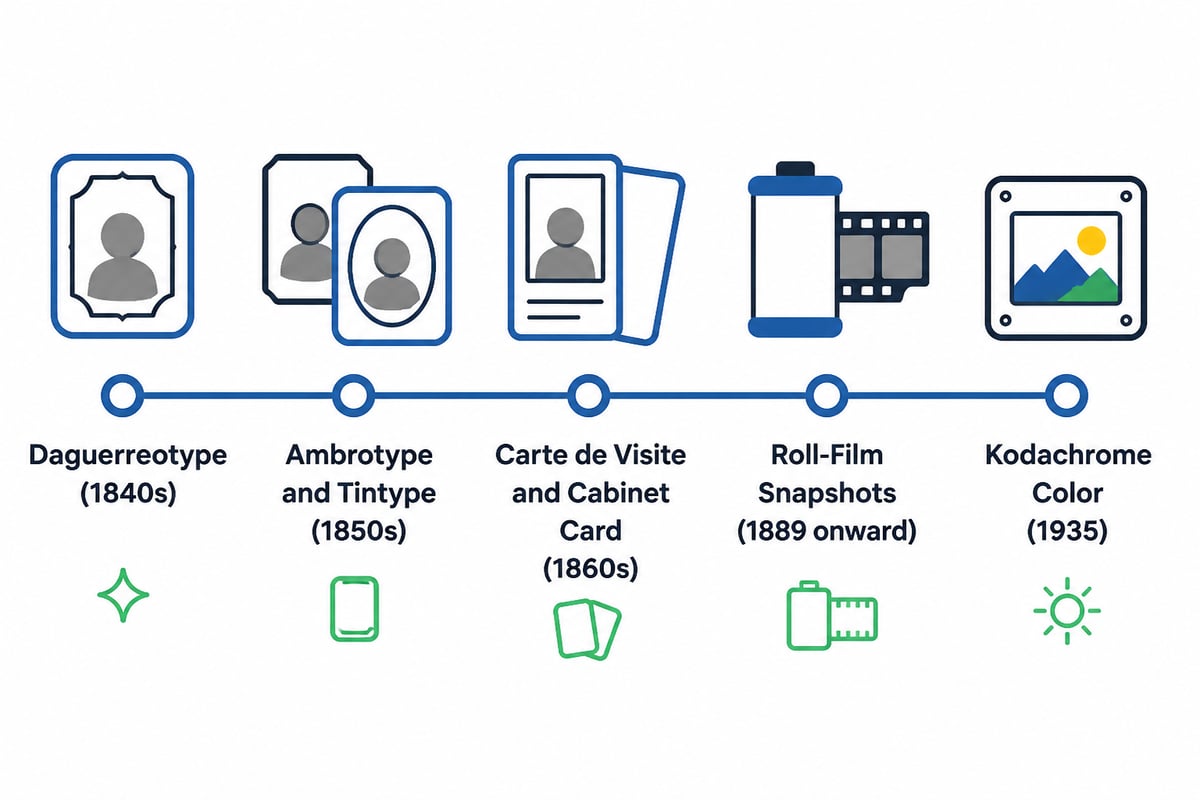
Daguerreotypes are mirror-like images on silver-coated copper plates, usually housed in small hinged cases. Tilt one and the image flips between positive and negative. They are sharp, delicate, and rarely larger than a few inches.
Ambrotypes and Tintypes (1850s to 1900s)
Ambrotypes place the image on glass, while tintypes use a thin sheet of iron. Tintypes were inexpensive and durable, which made them popular with traveling photographers and at fairs. The Library of Congress answers practical questions about these cased formats in its preservation FAQ for prints, negatives, and cased photographs.
Cartes de Visite and Cabinet Cards (1860s to 1910s)
These are paper prints mounted on stiff card. Cartes de visite were small, roughly the size of a calling card, and people traded them like collectibles. Cabinet cards were larger and often carried the studio's name in decorative lettering along the bottom.
Sepia and Black-and-White Studio Portraits (1900s to 1950s)
By the early twentieth century, film had replaced fragile plates. Kodak introduced its first commercial transparent roll film in 1889, according to Kodak's photography history timeline, and that change set the stage for modern snapshot photography. Sepia tone, the warm brown cast many people associate with antique pictures, was often a deliberate toning step meant to improve longevity and add warmth.
How Old Time Photos Became Everyday Keepsakes
Old time photos stopped being luxury objects once cameras became cheap and simple enough for anyone to use. Kodak's Brownie camera launched in 1900 at $1, with film costing 15 cents per roll, per Kodak's photography history page.
That price made candid family photography possible for the first time. Birthdays, picnics, and weddings were suddenly documented by relatives rather than by a hired studio, which is why early snapshots feel looser and more personal than formal portraits.
Color arrived later. Kodachrome, introduced in 1935, was the first commercially successful amateur color film, and 35 mm slide and 8 mm home-movie formats followed in 1936, according to the same Kodak timeline. Many mid-century family slides and home movies come from this era, and their saturated reds and blues are a quick giveaway.
How to Date Your Own Old Time Photos
You can usually narrow a photograph to within a decade or two by checking the physical object first and the people in it second.
- Identify the material. Metal, glass, or paper tells you the broad era before you look at a single face.
- Examine the mount and case. Ornate cases, thick card, and printed studio names are strong clues.
- Look at clothing and hairstyles. Collar shapes, sleeve cuts, and veils change noticeably from decade to decade.
- Check the background. Painted studio backdrops, props like fringed chairs, and posing stands suggest earlier studio work.
- Read the back. Handwritten names, dates, and studio stamps are often the most reliable evidence you will find.
If you are sorting a large collection, write what you learn on a separate sheet rather than on the photograph itself. Pressure from a pen can leave permanent marks on the image side.
Why Do Vintage Photos Look the Way They Do?
The soft focus, grain, and limited tonal range of early photos come from slow lenses, long exposures, and chemistry that recorded light differently than a modern sensor does.
Early exposures could last several seconds, so subjects held very still. That is why so many nineteenth-century sitters look serious: smiling for that long was difficult, and formal portraiture conventions of the time favored composed expressions anyway.
Other traits are worth recognizing:
- Vignetting: Edges fade darker because early lenses did not illuminate the frame evenly.
- Soft focus: Wide apertures and simple optics produced a gentle, dreamy blur.
- Grain and contrast: Film emulsions were less uniform, giving black-and-white prints a distinct texture.
- Hand-coloring: Some portraits were tinted with delicate color on cheeks and clothing by studio artists.
These imperfections are precisely what many couples find charming, and they are easy to approximate with today's tools.
How to Preserve Old Time Photos at Home
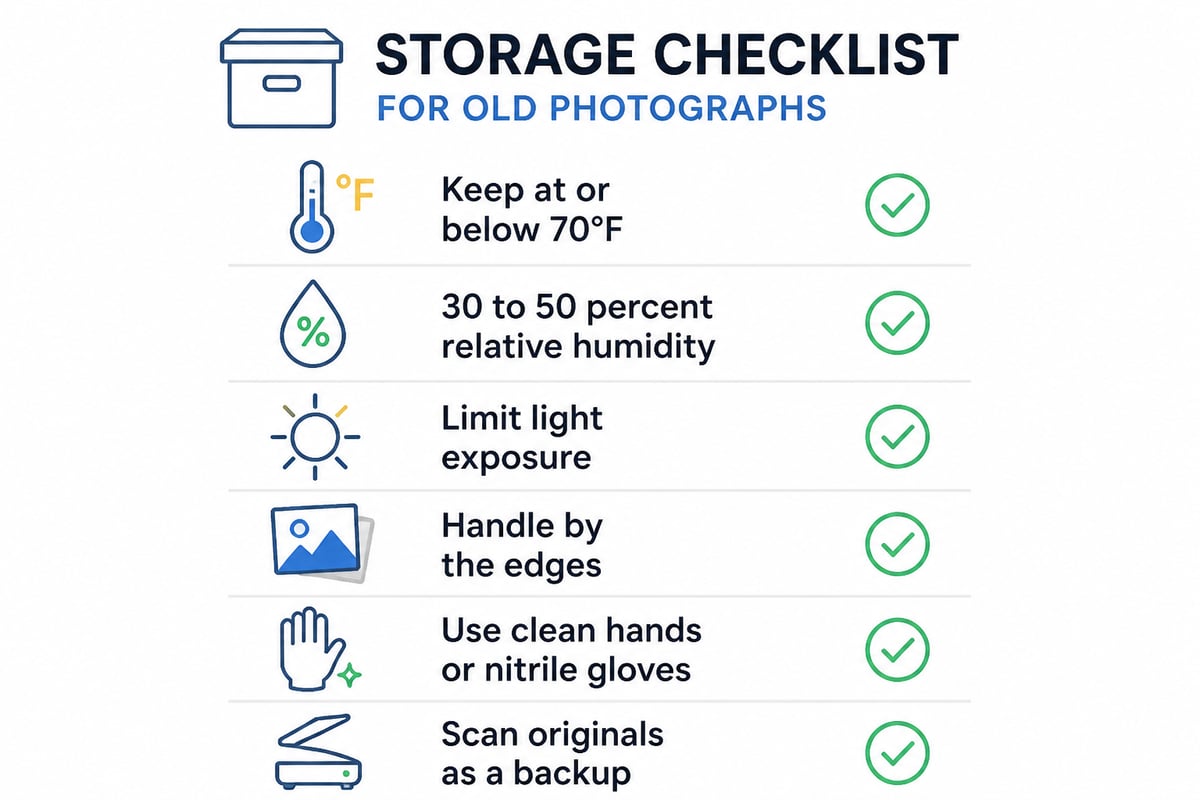
Preservation comes down to controlling temperature, humidity, light, and handling. The Library of Congress recommends storing most photographs in a cool environment at or below 70°F and at 30 to 50 percent relative humidity, according to its guidance on care, handling, and storage of photographs.
For most photographs, the Library says humidity should ideally stay between 30 and 40 percent, and levels above 60 percent risk warping and mold growth, as outlined in its Preserving Photographs guide. Attics and basements, where temperature and moisture swing widely, are the worst places to keep a family archive.
Practical habits that protect your collection:
- Handle by the edges. Avoid touching the image area, and use clean hands or clean nitrile gloves when appropriate, as the Library of Congress advises.
- Limit light. The Library notes that photographs can suffer irreversible light damage, even behind UV-filtering glass, so rotate displayed pieces instead of leaving one on a sunny wall indefinitely. Its photograph FAQ explains the reasoning.
- Use proper enclosures. For deeper detail on materials, the Library's preservation leaflet on photographs is a useful reference.
- Keep the workspace clean. Dust and debris scratch surfaces, so clear loose particles from a tabletop or storage box before handling prints.
Digitize anything irreplaceable. A high-resolution scan gives you a backup and a shareable copy, and it lets you reprint a favorite image for your reception without risking the original.
How to Bring an Old Time Photo Look to Your Wedding
You can capture the charm of vintage portraits at a modern reception by choosing a black-and-white or sepia treatment, a classic backdrop, and props that suit the era you want to evoke. Guests get the nostalgic feel without anyone standing still for ten seconds.
A self-service booth fits this well because couples control the look in advance. Pixilated offers a black and white photo booth rental that gives every strip a timeless, film-era feel, and its old fashioned photo booth guide walks through the classic strip format guests tend to love.
Elements that sell the vintage mood:
- Tonal choice: Black and white for a mid-century portrait feel, or a warm filter for a sepia look.
- Backdrop: A solid photo booth backdrop in a muted shade echoes the plain studio walls of early portraiture, while an elegant gold theme adds Art Deco glamour.
- Props: Wedding photo booth props such as mustaches, veils, and speech bubbles keep the mood playful.
- Posing: Encourage a few serious, studio-style shots alongside the silly ones. The contrast makes the gallery more interesting.
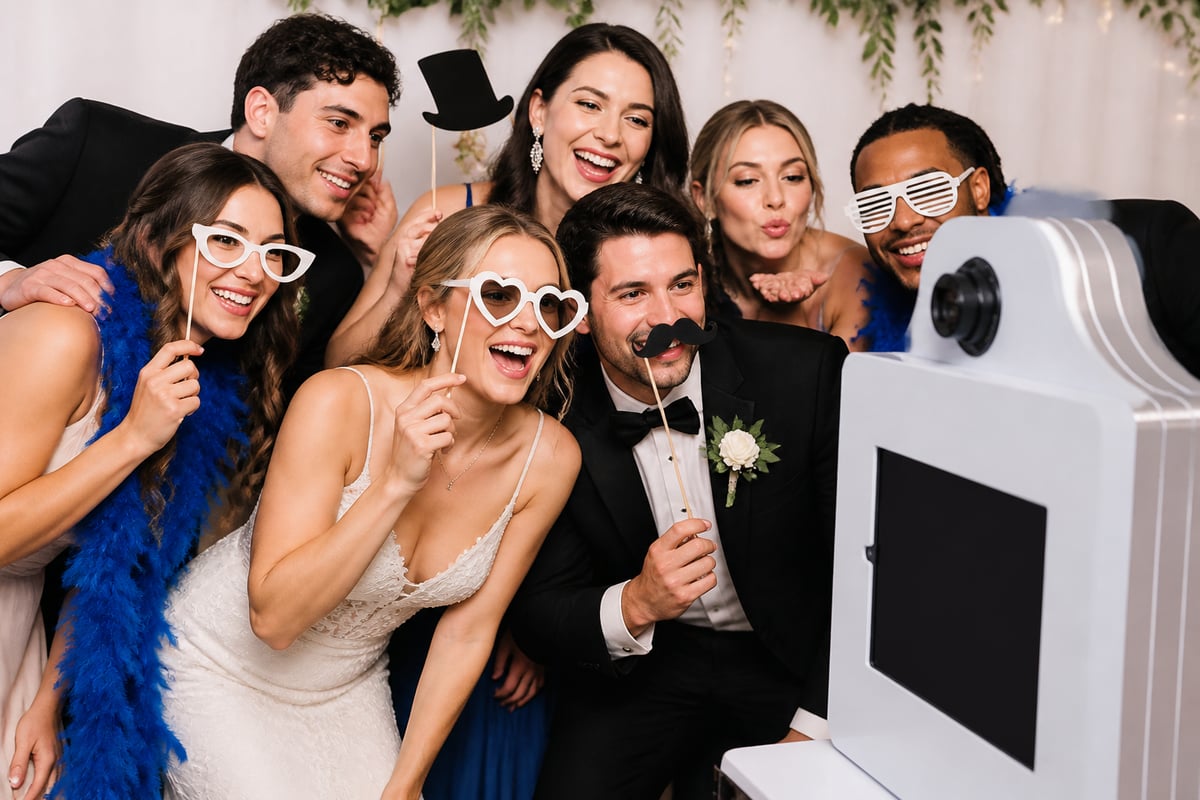
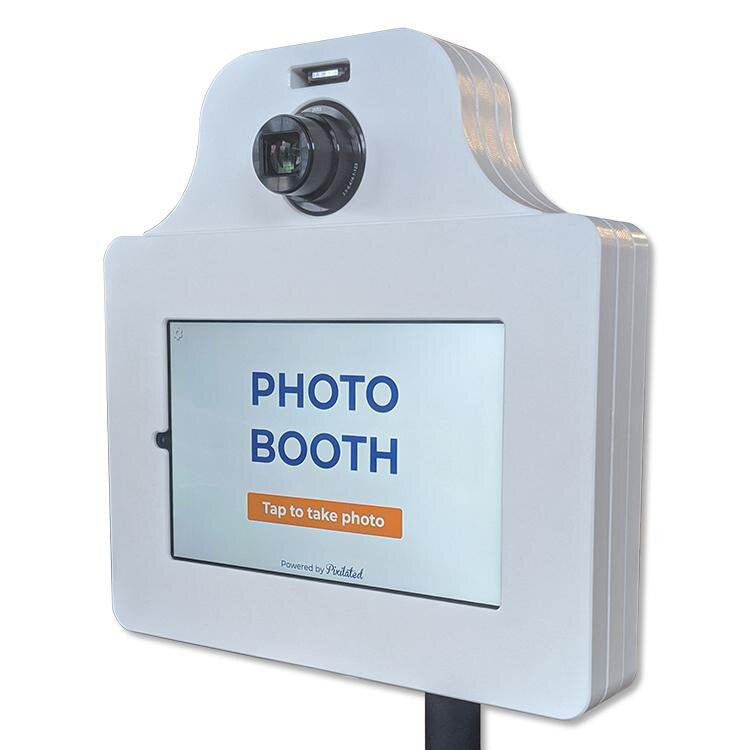
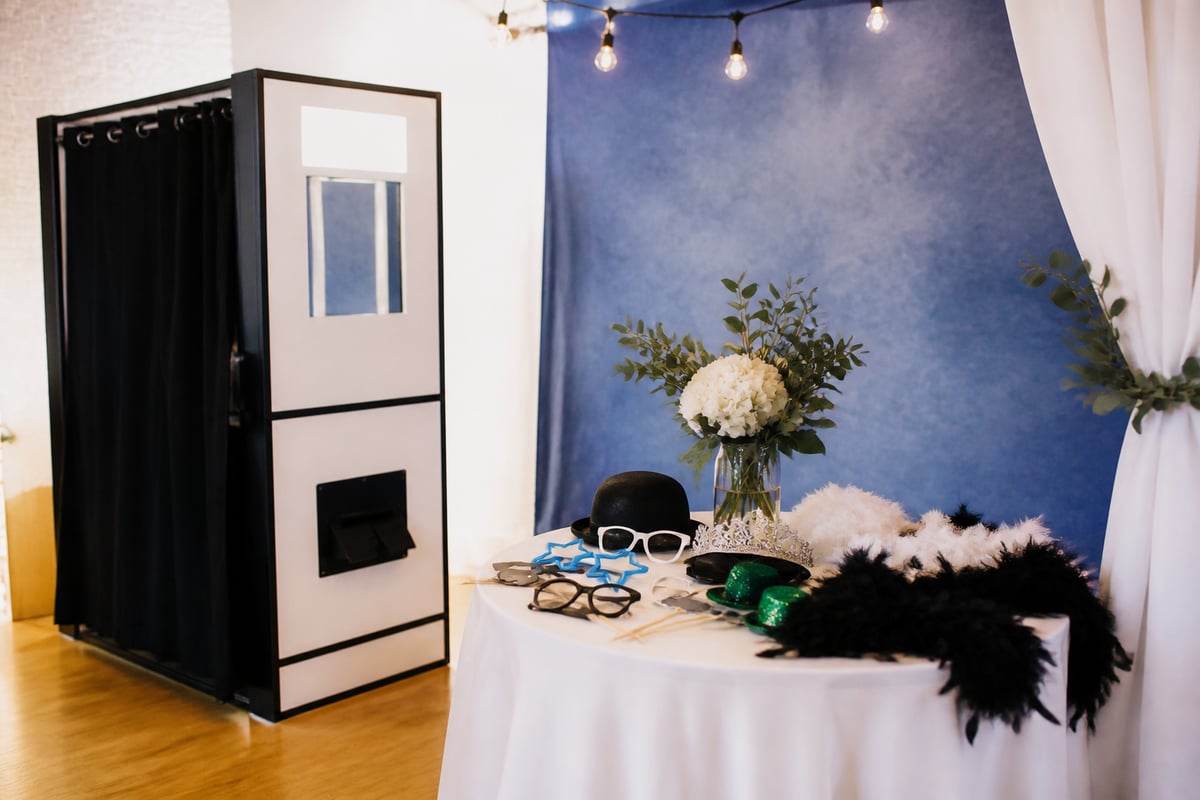
The Pixilated Photo Booth is a self-service option that sets up with no tech skills needed, and it runs on battery power, so there are no cords across the dance floor. You can customize the frames, screens, and backdrops with your colors and theme, which makes it simple to match a vintage palette. Photos reach guests by text and email, and everything lands in an online gallery you can revisit after the wedding. The Pixilated Photo Booth is rated 4.9/5 by more than 10,000 event hosts.
What Can You Do With Photos After the Wedding?
The most overlooked value of a vintage-style photo set is how it ages: the images you create at your reception become the old time photos your family looks at in fifty years. Planning for that now makes them last.
Treat your wedding booth photos like an archive from day one:
- Download the full gallery soon after the event and store copies in more than one place.
- Print your favorites on quality paper. Pixilated sells photo booth prints if you want physical strips to tuck into an album or a guest book.
- Label the set. Add names, the date, and the venue in a separate document, since future relatives will wonder who is standing beside Great-Aunt Linda.
- Display with care. Rotate framed prints out of direct sun, following the same light-exposure advice used for heirloom photographs.
If you want a display piece that suits the era you are celebrating, a handcrafted wooden table or shelf from a maker like Fargo Woodworks can hold framed prints and a guest album. Pairing physical keepsakes with a digital backup gives your photos the best chance of lasting for generations.
Start by choosing the look you want, black and white, sepia, or warm gold, and pick a backdrop that supports it before you finalize your reception layout. From there, a self-service booth makes it easy to give every guest a portrait worth keeping, and the Pixilated Photo Booth kit arrives ready to set up in minutes. When you are ready to lock in your date, you can book my photo booth now and let your guests make the next generation's old time photos.