How to set up a DIY Photo Booth
Nicolas China
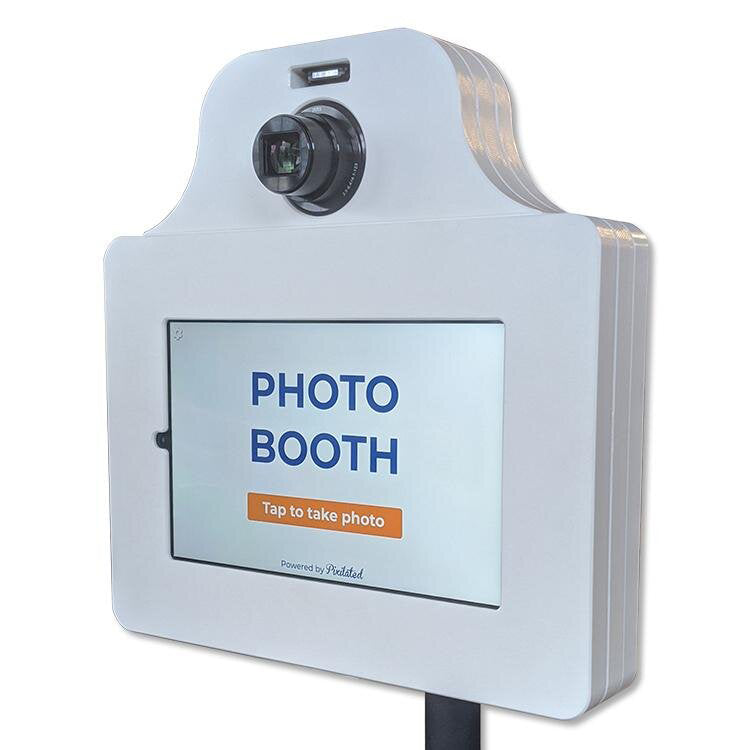
DIY Photo Booth: A Pixilated How To
Throwing a party? You need a photo booth! It’s 2014 people!
Photo booths made simple.
At Pixilated, we specialize in the photo booth rentals. We’ve provided photo booth services for over a thousand events, and in the meantime became full-blown photo booth experts!
Pixilated has you covered whether it’s a wedding photo booth rental, corporate event, anniversary party, or any type of event.
We understand that not every party needs a Green Screen, GIF photobooth or a Slo-Mo Video Booth, and more importantly that not every party has the budget!

That said, we are going to show you how to build a DIY photo booth, in its absolute simplest of forms.
In the video and post below we outline how to build a photo booth in 10 easy steps, with minimal equipment and no software.
What you need
- 6'x6' of open space
- A table
- A monitor with either HDMI input
- HDMI cable for digital camera
- A standard tripod
- A digital camera with the feature to be able to take photos in “Live View” mode
- A remote shutter release that is compatible with your camera
In the above video, we are using:
- A Samsung LED HD Monitor
- A Monoprice HDMI to Mini HDMI cable
- A Dynex tripod
- A Canon Rebel Series DSLR camera
- A remote shutter release
Preparation
- Charge camera battery
- Verify space on camera memory card
- Clear an area about 6’x6’. For most consistent photo lighting, use a wall (clear or decorated) as photo backdrop
How to assemble
- Set up monitor on table about 5-6 feet opposite the backdrop wall
- Behind the monitor on the table, set up camera on tripod so that the camera lens is above the monitor, and back of monitor is not visible in photo frame
- Turn on the camera
- In settings, make sure “Live View” shooting is enabled
- Still in settings, set your on screen image review to 4 seconds
- Plug in the monitor power
- Plug the HDMI cable into both the camera mini HDMI port and the monitor HDMI port
- Plug the remote shutter release into your camera
- Turn on the monitor and make sure the correct source (HDMI) is selected. Press the Live View button on the camera. You should see the view from the camera displayed on the screen
- Stand in front of the camera, pose and push the remote shutter release to take your photo! You will see a quick 4 second review, and then back to live view to take more photo booth pictures!
You're DIY Photo Booth is ready.
Just like that...have fun!
#getpixilated